Here at Iron Tribe Fitness, we have a fondness for using the college numbering system to indicate some of our athlete and coaching development programs. We have the Athlete 101, where all newcomers spend 4 weeks learning the basics of our workout system, fundamental movements and nutrition strategy. We also have a Coach 101, an intensive two-day workshop that acts as the final exam of the Coach Practicum Program (CPP). This is where coaches bring everything they’ve learned in the previous three weeks and implement it in a practical way on the floor. We also have a Coach 201 where coaches can learn how to lead others through the CPP.

Colleges and universities use this numbering system to indicate which classes are pre-requisites before moving on to more advanced topics. You’ve got to get through Chemistry 101 before you can move on to 201 and 301 level courses. The lower level courses build the foundation for more complex and specific learning.
We can take the progressive formula of knowledge accumulation from the college system and apply the same philosophy to movement competency. For almost every exercise that shows up in a fitness program, there is a list of pre-requisite abilities that need to be met before jumping in. Think about how we learned to move around when we were very little. Sure, we can perform the basic locomotion skills required today without having to even think about it. But at one point in our lives, we just laid there on our back and looked at stuff. Then we got motivated to do more. We said “I need to get to that shiny thing over there” and we started to develop a strategy. We learned to roll over. Then we learned to push-up and get to hands and knees. Then we started to move those legs and arms and we had some progress! We learned forward and backward and finally we learned to pull ourselves up to a squatting position or even standing. Then we put one foot in front of the other and EUREKA! We had an Instagram worthy video of our first steps.
For almost every exercise that shows up in a fitness program, there is a list of pre-requisite abilities that need to be met before jumping in.
It’s incredible to think that our nervous system was so amazingly adaptable at that age that we could go from NOTHING to WALKING in something like 10-18 months. That’s quite an achievement. But we needed to do these things one at time and in a specific order or else we would have stalled in our efforts. Rolling was a pre-requisite for crawling, crawling for getting upright, and getting upright for walking. Eventually, we’ll learn to run, but we needed to walk first.
Too often, I see people trying to run before they can walk in an exercise program. Basics are boring, and we’re drawn to the fancy and complex. After all, that’s where all the good stuff happens, right? Getting there quickly is the goal, right? ……Right?
I’m all for taking it to the next level. But if you try to climb a set of stairs and you’re trying to skip 4 steps at a time, you’re eventually going to fall on your face and hurt yourself. Each step on the stairs is a pre-requisite for the next and taking each one assures we’ll get to the top and we’ll be in good shape by the time we get there — and that means we can take the next flight too.
Movement pre-requisites can fall into a number of categories, but primarily those will center around mobility, strength, stability, and coordination. Let’s outline some of the most common exercises and see what you should be able to do before you start getting hard and heavy with a new movement. If you’re struggling with an exercise currently, re-check to see if you have the pre-requisites covered.
When we talk about specifically moving a barbell from the floor, we need to have some basic things covered. First off, you should be able to touch your toes. Very simply, stand tall with your feet together and reach down and see if you can make contact.
If you can touch your toes, the next thing to be able to do is hinge, a movement pattern that some people have lost. Hinging requires that you send your hips back and bend from the hip joint with no loss of the regular neutral back position and no major squatting – driving the knees forward. The best way to test this is to hinge with a PVC pipe on your back, holding 3 points of contact. The PVC pipe should be touching:
If you’re trying the hinge and you’re losing one of those areas of contact, you’re compensating the movement with another joint and it means you’re not ready to Deadlift — yet.
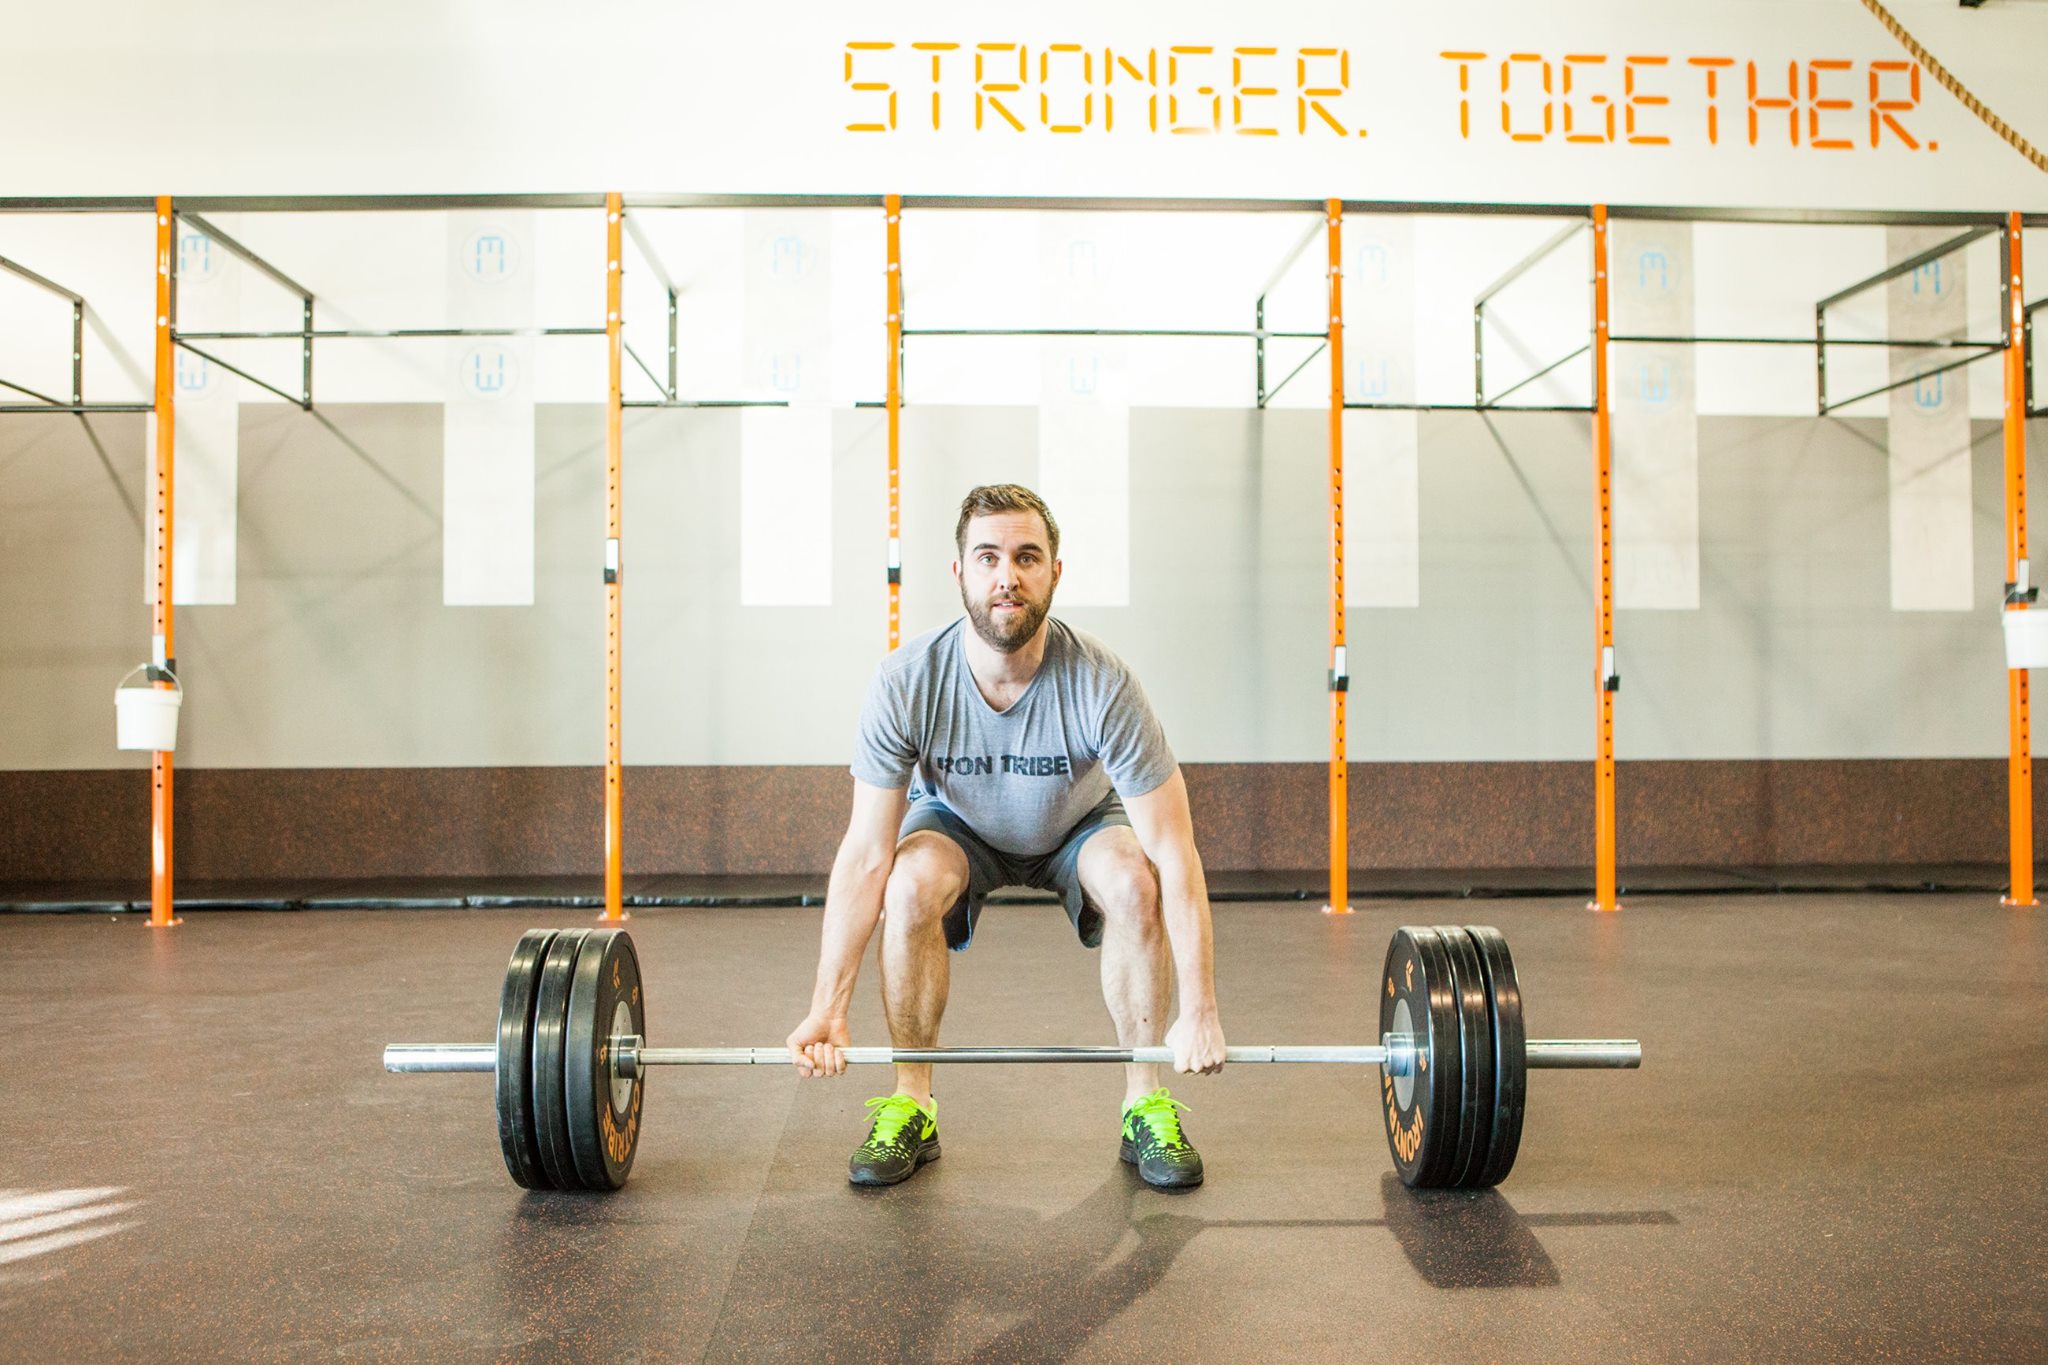
The next important pre-requisite for the Deadlift is the set-up. With the barbell on the floor (DO NOT lift it yet), try to assume a position at the bottom where the following things are in line:
If any of these are violated, you’re not ready yet. You may require an elevated barbell, need to change the barbell out for a KB, or switch to a different strategy, like a Sumo Deadlift or hex bar. With the Deadlift, the set-up is everything. Make sure you have these things first before…
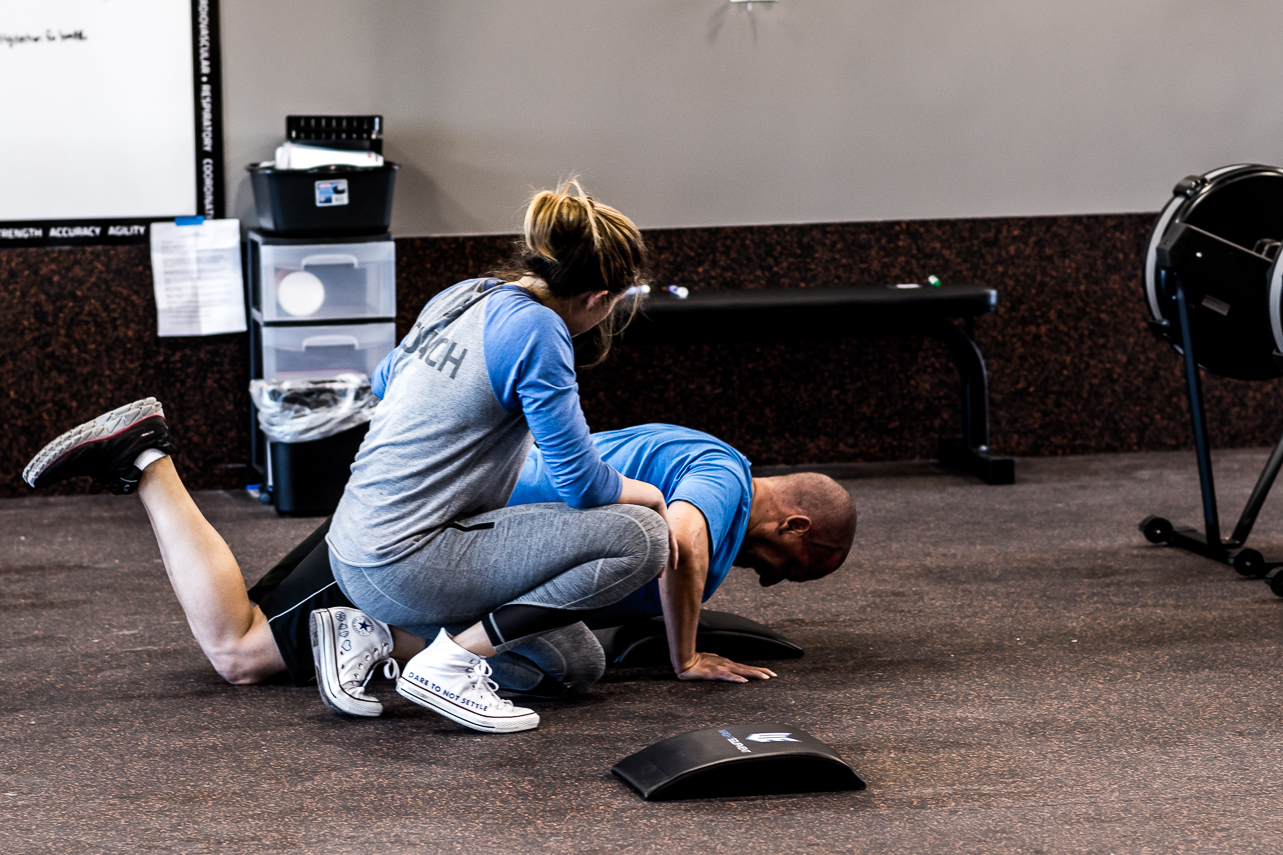
One of the main things to address first with the squat is the ability of the ankles to dorsiflex (bring your toes toward your shins). A quick test to see if you have enough ROM in the ankles to squat properly is to position yourself facing a wall and assume a lunge kneeling position. Your toes should start about 4 inches away from the wall. Try to touch the knee to the wall without lifting the heel or collapsing the arch of the foot. If you struggle with this, it may be difficult for you to achieve the proper points of performance on a simple squat.
A great way to test the mobility of the hips in the squatting pattern would be to perform a basic assisted squat or a “bottom up” squat. With the assisted squat, you simply perform all of the points of performance of a regular squat with some assistance, so we can rule out balance and strength as possible limiting factors.
The “bottom up” squat starts you supported in the bottom position on something like a bench or box, and has you stand from that position. If you struggle with either of these tests, you probably aren’t ready for Squat 201.
That’s a mouthful! While all technically different exercises, these all require a similar ability — to hold something overhead while maintaining stable shoulders.

First thing we can check is basic mobility. If you can’t assume the correct position overhead, there will be a good deal of compensation happening that could possibly lead to injury. Here are a couple of things you can do to see if you have decent shoulder mobility:
It’s important to know that these are just some basic exercises that you should have as a foundation before tackling more difficult progressions of the exercises. It’s not an all inclusive list and there are plenty of other things you can do to test “readiness” for the next level. These are a good place to start.
If you take the approach of building a big foundation of movement quality, mobility, stability, and coordination, you will be able to layer on strength, power, speed, agility, and skill. But working on those things in the absence of a basic foundation of good movement ability will not allow you to reach your maximum potential. As it was when they built the pyramids, the bigger the base, the higher the peak.
Before you get to advance a level in school, you have to pass the test. Make sure you are crushing these pre-requisites before trying to graduate to a more advanced level!